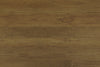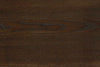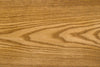
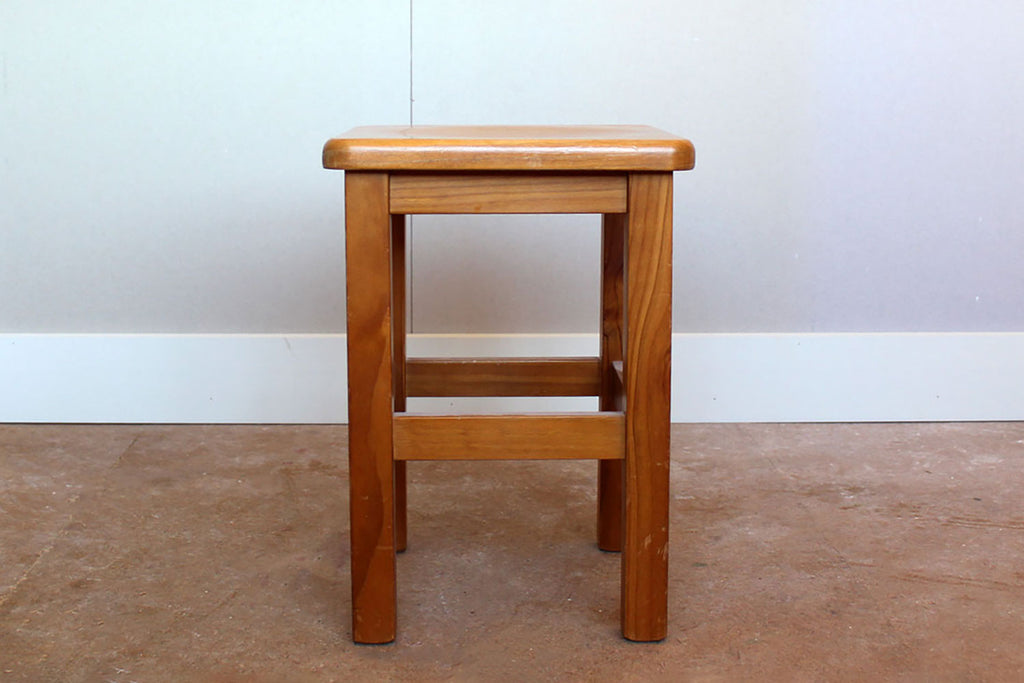
Is your wooden furniture starting to look a little worse for wear and seen better days? Maybe its time to buy some new furniture, or maybe your furniture just needs a little sprucing up and it will be looking as good as new. While it may sound like a daunting task at first, it’s really not that difficult to do yourself with the right tools and know-how. We tried this out on an old pine stool which had originally been stained in Light Rimu. It was sorely in need of a fresh update, so we decided to refinish it in Resene Black Forest paint. Within a couple of hours, it had been transformed into a fabulous, new-looking piece. If you’re ready to take on the task, just follow the simple steps below to learn how to refinish wood furniture.
You will need:
- A piece of furniture to restore
- Damp cloth
- Orbital sander
- Sanding discs/sandpaper
- Dust mask and safety glasses
- Dustpan and brush
- Paintbrush
- Primer (if painting)
- Paint or stain of your choice
Step #1 – Clean

First of all, you’ll want to make sure your furniture is nice and clean. Wipe it down with a damp cloth to remove any dirt, dust, mould or grease. If you’re furniture was really covered in grime and you do this well enough, it might be looking ten times better already and a new coat of finish is not necessary after all.
Step #2 – Remove existing finish

After cleaning, you need to get rid of the old finish whether it’s stain or paint. This will need to be sanded off until the whole coat is gone, and the unit is as smooth as possible. It’s best to start with a course grit sandpaper to remove the majority of the finish, then finish off with a fine grit sandpaper to get a smooth surface. The sanding discs will gradually become worn as you sand so will need to be replaced several times during the process. (We went through four 180g sanding discs with this stool.) This step can take quite a while, just keep going until the furniture is stripped back to bare wood. Remember to always sand in the same direction as the grain of the wood and be sure to protect yourself with safety glasses and a dust mask.

Step #3 – Dust
Once the old finish is removed, give your furniture a brush and wipe down to remove any dust. You don’t want specks of dust getting caught in the paint or stain, as this will ruin the look.
Step #4 – Prime (if painting)
If you’re opting for a stain finish you can skip this step, but with paint, priming is a useful step if you want to achieve an even, long-lasting finish. It will help the paint to adhere to the wood, giving the piece extra durability. Use a paintbrush to apply a primer to the whole area you plan to paint. For a top-quality finish, use a fine sandpaper to gently sand down after priming and wipe off any dust.
Step #5 – Apply the new finish

Now its time to apply a new finish. Use a paint brush or rag to smoothly apply an even coat of your chosen paint or stain until the whole unit is covered. You may need to apply 2 or 3 coats, sanding between each, to reach the standard you desire. Leave to dry.
Step #6 – Topcoat (optional)
This step is not mandatory, but for best results and durability, apply a clear lacquer or sealer to provide the furniture with an extra layer of protection.

And that’s it! Your furniture now has a whole new lease of life and could potentially serve you for many more years.
For further information check out this video from Bunnings about restoring wooden furniture.
Happy DIYing!